Skip to content
Thai Embassy Document Request · Identity & Location

National ID Scan for the DTV (Emirates ID & Others)

Need your DTV Emirates ID front and back scan right? Our guide shows exactly how to combine both sides into one clear file and avoid rejection — keeping your DTV on track.

DTVDTVThaiVisa 12 min read

You've just received a 'Request for Further Document' asking for a clear scanned copy of your national ID, both front and back in one file . This is a standard step in the Destination Thailand Visa (DTV) process, and getting it right means your application moves forward. Below, we explain exactly what the embassy expects, why it matters, and how to prepare a compliant ID scan — without risking a rejection or losing your fee.

A flatbed scanner with a UAE Emirates ID card placed on it, showing both sides merging into one PDF on a computer screen, in a clean home office setting.

What the embassy asked

The embassy or consulate processing your DTV application needs to verify your identity and local residence. They've sent you a precise request — it's important to read it word for word, because small deviations can cause rejection.

“Please upload a clear scanned copy of your Emirates ID Card - Include both (front and back sides) in 1 file - Only scanned copies are accepted - Photos or screenshots will not be accepted”

Why the embassy asks for this

The DTV is applied for through Thailand’s e-Visa portal — our team prepares and submits your application for you — and the Royal Thai Embassy or Consulate-General reviewing your file must confirm your identity and local residence. Your passport shows your nationality and travel document, but a national ID — like the Emirates ID for UAE residents — ties your photograph and name to a government-registered residence record. It strengthens the link between you and the country you applied from.

Because the reviewing office cannot make a final visa decision, it issues a ‘Request for Further Document’ when this link needs reinforcement. Submitting a clean scan of both sides of your ID gives the officer everything required to continue evaluating your application.

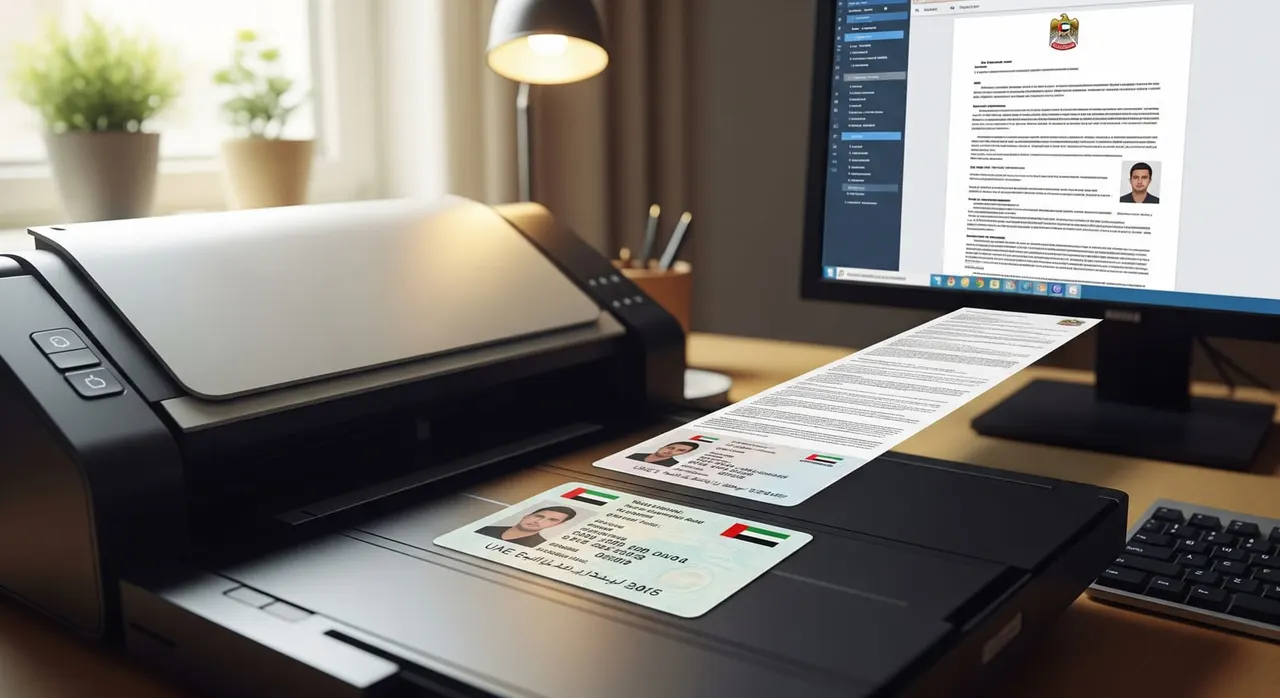
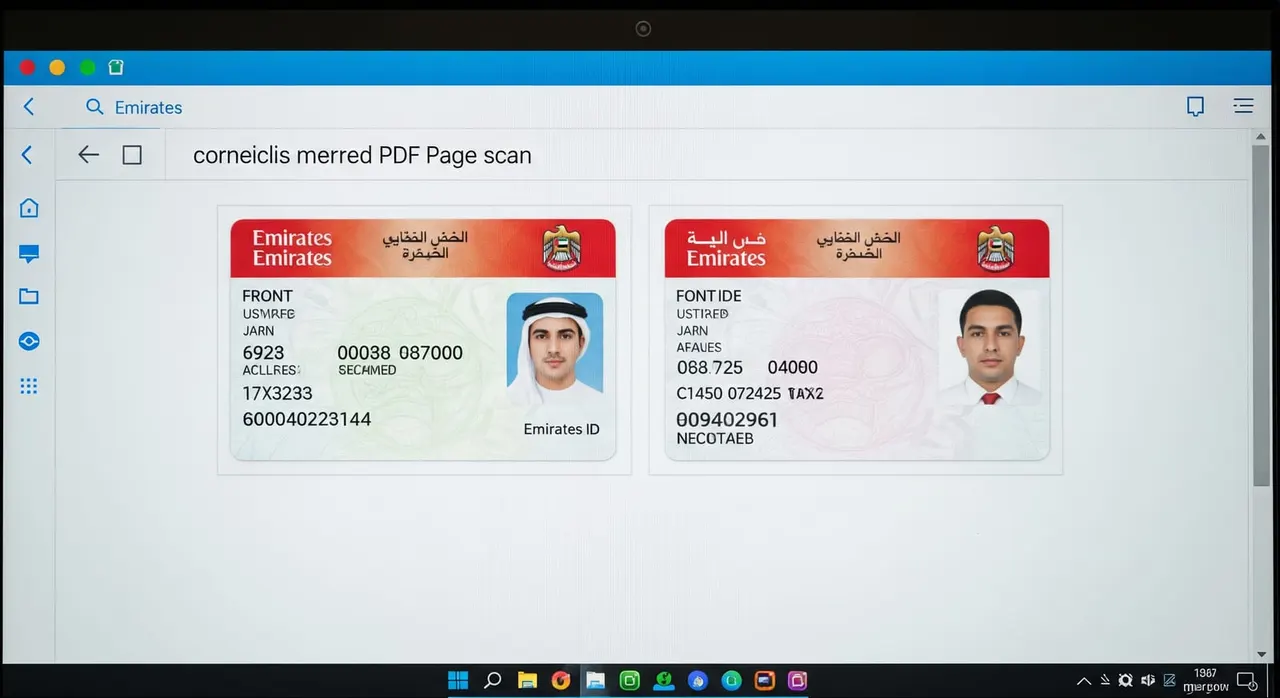
How to provide it correctly

  1. Read the embassy email carefully. It usually asks for a clear scanned copy, both sides, in one file, scans only — no photos or screenshots. Note any specific file format or naming.
  2. Use a flatbed scanner or a dedicated document-scanner app (like a ‘scan to PDF’ tool) set to color and about 300 DPI. Do not use your phone’s camera.
  3. Place the ID card on the scanner, ensuring the full card is on the glass without cutting corners. Scan the front side, then the back side, keeping a small margin around all edges. Avoid glare by pressing the lid down firmly.
  4. Merge the two scans into a single file: combine them into a multi-page PDF (or one image showing both sides) using a PDF merge tool. Front and back must appear together in the one file the embassy asked for.
  5. Check the file size and format. The e-Visa portal generally accepts PDF or JPG, preferably under about 2MB. If the merged file is too large, use a PDF compressor; don’t lower resolution so much that text blurs.
  6. Open the file at 100% zoom and verify both sides are sharp, in color, glare-free, and fully legible. Every detail — photo, name, ID number, chip — should be clearly readable.
  7. Send us the file and we upload it through the channel the embassy specified (the e-Visa portal document section or the reply email). We submit only this one ID file; no extra documents the email didn’t ask for are added.
  8. Keep a copy of your scan and any confirmation. Do not re-submit your entire application, and avoid starting a new one — in our experience, since around May 2026 re-applying after a rejection has become harder.
Example of a correctly merged Emirates ID scan: front and back sides displayed clearly as a two-page PDF on a screen, with no glare or cropping.

Common mistakes that cause rejection

  • Using a phone photo instead of a real scan — even if it looks sharp, it’s a photo and will be rejected.
  • Uploading front and back as separate attachments instead of merging them into the single file requested.
  • Forgetting to scan the back side; the back often contains data or a QR code that is equally required.
  • Allowing the scanner to crop too tightly, cutting off edges or corners, which counts as an incomplete document.
  • Over-compressing the file to reduce size until text becomes fuzzy, or leaving it too large to upload.
  • Adding extra unrequested documents “just to be safe” — stick to only the ID file.

Frequently asked questions

Can I take a photo of my Emirates ID with my phone and submit that?

No. The embassy email states clearly that only scanned copies are accepted — photos and screenshots will be rejected. Use a flatbed scanner or a genuine document-scanning app that outputs a clean, flat PDF.

Do I have to put the front and back in the same file?

Yes. The request specifies to include both sides “in 1 file.” Merge the two scans into a single multi-page PDF or one image; uploading two separate files will result in a rejection.

I’m not a UAE national, but I live in the UAE. Does this request apply to me?

If you applied from the UAE, the embassy may ask for the national ID it named. GCC nationals submit an Emirates ID; other residents provide their own national ID along with a valid UAE residence visa, both copies following the same scan rules.

My ID card has Arabic text — will that work?

DTV documents must be in Thai or English. An Emirates ID includes English and is accepted. If your ID is in a non-English script only, attach a certified, legalized English translation. Without it, the scan will be considered insufficient.

What file format and size should I aim for?

PDF or JPG is acceptable. Keep the file under about 2MB — if needed, compress without losing legibility. Scan at around 300 DPI in color to ensure all details remain sharp when opened on screen.

My ID scan was rejected as unclear. What should I do?

Re-scan on a flatbed scanner in good light, ensuring no glare, full edges, and both sides sharp at 100% zoom. Merge into one file and send us just that file — our team re-uploads it through the channel the embassy indicated. Do not restart your application.

Get this document right the first time

Let our team prepare and check your response to the embassy — apply from $139, with a 100% refund if denied (with the optional Denial Protection add-on).

Start your application

General guidance only — not legal advice. Thai embassy requirements vary by office and change over time; always confirm the exact wording in your own request email, or let our team check it for you.

Related document requests